 Repair parts Xiaomi Redmi 12C

Receive it on tomorrow tuesday 10 february

Give Your Xiaomi Redmi 12C a New Lease of Life: The Ultimate Guide to Spare Parts
Hello there! 👋 If you've found your way here, it's likely that your trusty sidekick, the Xiaomi Redmi 12C, is in need of a little TLC. Perhaps it's suffered an unfortunate drop, is showing the inevitable signs of daily wear and tear, or maybe a tiny component has simply decided to retire early. Whatever the reason, don't you worry! You've come to the right place. Here at iLevante.com, we don't just offer all the top-quality spare parts you need for your Redmi 12C; we also empower you with the knowledge to know exactly what to buy and how you can restore your smartphone to its former glory.
In a throwaway world, choosing to repair is both a smart and sustainable act. It's about giving a second chance to a device that has served you well and saving a good bit of money in the process. This isn't just any old mobile. The Xiaomi Redmi 12C has won the hearts of thousands with its incredible value for money. It's a robust, functional, and perfect terminal for everyday life. But like any piece of engineering, it isn't invincible. Join us on this deep dive into its inner workings and discover just how rewarding and accessible it is to repair it yourself.
Meet the Star of the Show: An Anatomy of the Xiaomi Redmi 12C
Before we get down to business, it's crucial to understand our patient. Knowing its key features will help us to better diagnose problems and choose the right component. Launched as a very competitive entry-level option, the Redmi 12C shines for several reasons:
- An Enjoyable Screen: The device is fronted by a large 6.71-inch display with an HD+ resolution (1650 x 720 pixels). Its original technology is IPS LCD (In-Plane Switching), which ensures faithful colour representation and decent viewing angles, crucial for two people to view the screen at once without colour distortion. Its generous size is perfect for consuming multimedia content, but that also makes it more susceptible to damage in a fall.
- A MediaTek Heart: Inside beats a MediaTek Helio G85 processor. This is an octa-core chip that, while not competing with high-end models, offers surprisingly smooth performance for most daily tasks: social media, Browse, messaging, and even casual gaming. Understanding its capability is key to not confusing a phone that's slow due to age with a software fault.
- A Battery to Keep You Going: With a generous nominal capacity of 5000 mAh, its battery life is one of its main selling points. It's designed to last more than a full day of moderate use. However, Li-Po batteries have a finite number of charge cycles, and their performance inevitably declines over time.
- Photography for Your Memories: Its camera system, led by a 50 MP main sensor assisted by Artificial Intelligence, captures sharp and vibrant photos in good lighting conditions. The glass that protects this lens is one of the parts that suffers the most from scratches, directly affecting image quality.
- Honest Build Quality: The Redmi 12C features a plastic chassis and back cover with a glass front. While the plastic makes it more resistant to knocks than the glass backs of high-end models, it is prone to scratches that can spoil its appearance over time.
These are the components that bring it to life, but they are also its Achilles' heels. A drop affects the screen, continuous use degrades the battery, and the ports suffer from being plugged and unplugged thousands of times. Let's see how to fix each of these issues!
My Screen is Smashed 😱: All About Screens for Your Redmi 12C
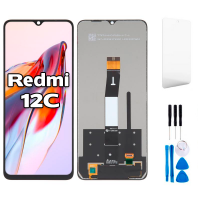
A broken screen is, without a doubt, the most common and visually dramatic disaster. One bad knock and crack!, the dreaded spider's web appears. But take a deep breath; replacing it is a standard and very accessible procedure. At iLevante.com, we believe in giving you options, which is why you'll find various qualities so you can choose the one that best suits your budget and standards. The Redmi 12C uses an IPS technology screen from the factory, but in the spare parts market, the alternatives are varied:
- TFT Screens (Budget Quality): These are the entry point for repairs. Thin-Film Transistor technology is a more basic form of LCD. Functionally, they are perfect and will get your mobile back up and running. However, you'll notice differences: the colours may be slightly less intense, the contrast is lower, and the viewing angles are more limited (the colour shifts if you look at the screen from the side). It's an ideal solution if your budget is very tight and you just need the phone to work again.
- INCELL Screens (Premium Quality): Here we take a significant step up in quality! INCELL technology integrates the touch sensor directly into the same layer as the liquid crystal (LCD), eliminating an intermediate layer. This has tangible benefits: the screen is thinner, which results in more vivid colours and superior brightness. But most importantly, it reduces parallax, that tiny gap between the glass you touch and the image you see. The result is a much more precise and direct touch response, very similar to the original experience. It is, without a doubt, the option with the best value for money.
- Original Quality (OEM) Screens: This is the crème de la crème of spare parts. Manufactured by the same suppliers or to the same quality standards as the screen your mobile came with from the factory. They offer a 1:1 match in sharpness, brightness, colour calibration, and touch response. The fit in the phone's frame is perfect, with no gaps or strange edges. If you're a perfectionist and want your Redmi 12C to be exactly like it was on day one, this is your undisputed choice.
What about the famous OLED or AMOLED screens? Although they are superior technologies (with pure blacks that save energy and ultra-vibrant colours), there are no compatible spare parts with this technology for the Redmi 12C. The reason is technical: the chassis, the connectors, and the phone's software (specifically, how the operating system manages the image) are all designed for LCD IPS panels. Installing a different technology is simply not feasible.
Detailed Guide: Steps to Replace the Screen
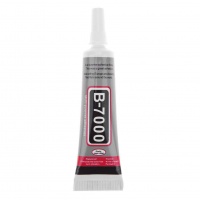
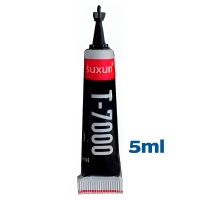
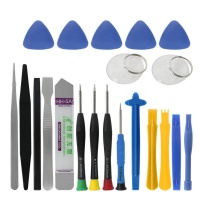
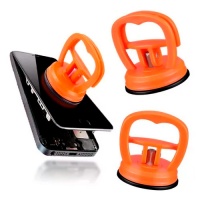
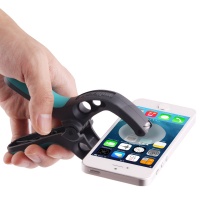
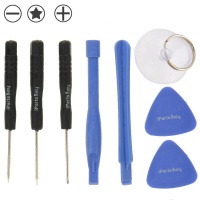
This process requires concentration, but with the right tools, it's very satisfying. You will need a basic repair kit (screwdrivers, plectrums, suction cup) and B-7000 adhesive.
- Preparation: Turn the phone off completely. Work on a clean, well-lit surface.
- Opening the Device: Apply moderate heat (with a hairdryer or a heat gun on a low setting) to the edges of the back cover to soften the adhesive. Use a suction cup to create a small gap and insert a plastic plectrum. Slide it around the entire contour to separate the cover. EXTREME CAUTION! The fingerprint sensor is attached to the motherboard by a flex cable. Open the cover like a book, without pulling, and carefully disconnect the sensor's flex cable.
- Internal Disassembly: Remove the screws holding the plastic shield that covers the motherboard. Disconnect the battery (always the first connector to be removed and the last to be put back!). Then, disconnect the old screen's flex cable.
- Removing the Broken Screen: This is the trickiest step. Apply heat to the front of the phone to soften the screen's adhesive. Carefully push from the battery opening or use a very thin plectrum to separate it from the frame. Thoroughly clean the entire frame of any glue and glass fragments.
- Test Before You Stick: Before sealing anything, connect the new screen from iLevante.com and the battery. Turn the phone on and check that the image looks good, the colours are correct, and, most importantly, that the touch function works across the entire surface. Open the keyboard and type, move icons around the desktop...
- Final Installation: Once you've verified everything is working perfectly, turn the phone off and disconnect everything again. Apply a thin line of B-7000 adhesive to the frame, place the new screen, press firmly but gently, and reassemble all the components in reverse order. You can use clamps or rubber bands to maintain pressure while the glue dries (around 4-6 hours).
Battery Not Lasting? Replace It! 🔋
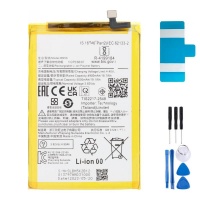
The second most common problem. You leave the house with 100% and by mid-afternoon, you're already in extreme power-saving mode. It's normal; batteries degrade. The one in the Xiaomi Redmi 12C is the BN5L model (sometimes also compatible with the BN5K), a powerful 5000 mAh Li-Po (Lithium Polymer) battery.
Advanced diagnosis of a faulty battery:
- It drains abnormally fast, even when idle.
- The charge percentage is erratic: it jumps from 40% to 15% in an instant.
- The mobile suddenly switches off, especially when opening a demanding app like the camera, even if it shows there's battery left.
- Sluggish Performance: A degraded battery can't supply the voltage peaks the processor needs, so the operating system (MIUI) may slow down the chip to prevent shutdowns. If your mobile is inexplicably slow, the battery could be the culprit.
- Heat and Deformation: If you notice the back of the phone getting excessively hot during charging or use, or worse, if it looks slightly swollen, this is a red flag. ⚠️ A swollen battery is a safety hazard! Internal gases have built up, and you must replace it immediately and dispose of the old one at an appropriate recycling point.
The truth about unbranded OEM batteries
In our shop, you'll see "OEM" (Original Equipment Manufacturer) batteries without the Xiaomi logo. Don't be suspicious; this is standard practice and a sign of an honest supplier. These batteries are made by companies that adhere to the same quality standards as the originals. They use Grade A Li-Po cells and, most importantly, include a quality protection circuit (IC). This tiny chip is the battery's brain: it prevents overcharging, deep discharging, short circuits, and overheating. Ultra-cheap generic batteries often skimp on this chip, putting your device and your safety at risk. An OEM battery from iLevante.com gives you performance and safety identical to the original, at a fairer price.
Tips for looking after your new battery
Once your new battery is installed, treat it well to make it last longer:
- Avoid extremes: Don't let it discharge below 20% or routinely charge it above 80-90%. Partial charges are better than full cycles.
- Use the right charger: The Redmi 12C uses a 10W charger. Using high-power chargers won't charge it any faster and can generate more heat, the number one enemy of batteries.
- Watch the temperature: Don't leave the phone in the sun, in a car in summer, or on surfaces that dissipate heat poorly while charging.
Back Covers: The Easiest and Cheapest Aesthetic Upgrade
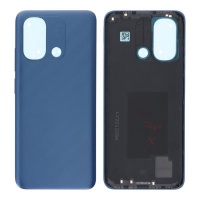
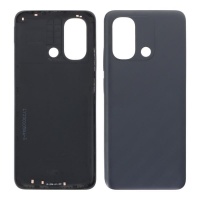
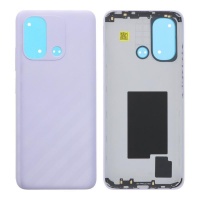
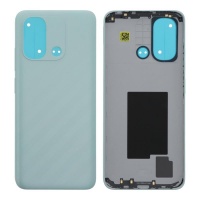
Over time, the plastic back cover of your Redmi 12C will accumulate micro-scratches and lose its shine. Or perhaps a fall has caused a crack. Replacing it is one of the simplest repairs with a huge visual impact. It's not just about aesthetics: a cracked cover can let in dust and dirt that can damage internal components like the camera. At iLevante.com, we stock back covers for the Redmi 12C in all its original colours, so it will look perfect. The process is the same as the first step for changing the battery, and most new covers already come with their own pre-installed adhesives!
The Heart of the Repair: Other Key Spare Parts
A mobile is an ecosystem of parts working in harmony. When one fails, the experience suffers. Here we detail the most sought-after spare parts:
Charging Port (Dock Connector Board)
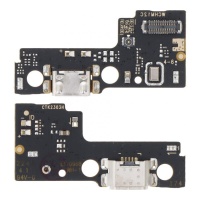
This is a wear-and-tear part by definition. If your Redmi 12C is a "fussy charger" (only charges in a certain position), the cable is loose, or it's simply not recognised by your PC, you need to replace the charging module. On the Redmi 12C, this part is a small printed circuit board (PCB) at the bottom, which is great news. Why? Because it means it doesn't require micro-soldering. It's a clean repair: you remove the cover, remove the loudspeaker, disconnect two cables (the antenna and the main flex), unscrew the old board, and pop the new one in. What's more, this board often includes the main microphone for calls, so if people complain they can't hear you properly, replacing this part solves two problems at once.
Main Loudspeaker (Buzzer)
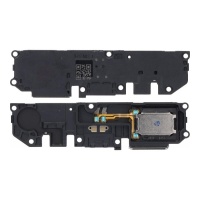
If music, ringtones, or video audio sound tinny, very quiet, or not at all, the main loudspeaker or "buzzer" has reached the end of its life. It's a self-contained module housed in the bottom of the phone, and replacing it is as simple as removing a few screws and disconnecting a couple of contacts. Don't confuse it with the earpiece speaker for calls!
Volume and Power Button Flex Cable
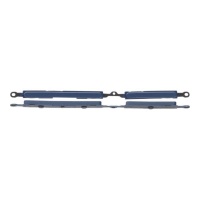
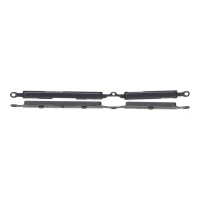
We press our phone's buttons hundreds of times a week. Over time, the internal mechanism, which is a thin metal dome that makes the "click", wears out. If a button gets stuck or you have to press with all your might for it to respond, the solution is to replace the associated flex cable. It's a cheap part that restores vital functionality.
Rear Camera Lens
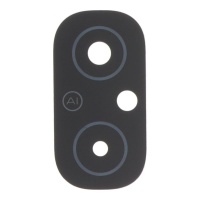
Are your photos coming out with a smudge or a blurry halo that won't go away no matter how much you clean it? It's almost certain that the small glass cover protecting the main lens is scratched or has a micro-crack. You don't need to replace the entire camera module! This tiny glass replacement is one of the most rewarding repairs. Carefully remove the remnants of the damaged glass, clean the camera sensor itself with an air blower to avoid trapping any dust inside, and stick the new lens on. The difference in your photos will be night and day.
Hardware or Software Issue? Advanced Diagnostics
As technicians, our first rule is: always rule out software before touching the hardware. MIUI is a complex software layer and sometimes its bugs can mimic hardware failures. Before you buy anything, do this:
- Safe Mode: Reboot your mobile into "Safe Mode" (the process varies, but it usually involves holding the volume down button during startup). This starts the phone with only the system apps. If the problem (slowness, reboots) disappears in this mode, then a third-party app you've installed is to blame.
- CIT Menu (Hardware Test): This is the technicians' secret weapon! Open the phone dialler and type in the code `*#*#6484#*#*`. This will take you to Xiaomi's hardware diagnostic menu. From here you can individually test the screen touch (you'll see a grid to draw on), the speakers, the vibration motor, the sensors, the cameras... It's the most reliable way to know if a part is physically broken or not.
- Factory Reset: If all else fails, back up your data and perform a factory reset. If the problem persists after this (e.g., a spot on the screen, the Wi-Fi won't turn on...), then you have 100% confirmation that it's a hardware fault and you need a spare part.
Your Workshop at Home: Essential Tools
To embark on your repair adventure, you'll need a small arsenal. You can find comprehensive kits at iLevante.com, but the essentials are:
- A set of precision screwdrivers.
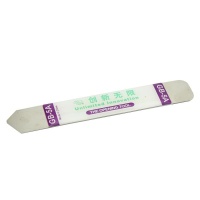
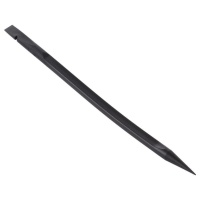
- Plastic prying tools (spudgers) and plectrums to avoid scratching the plastic frame. - A suction cup.
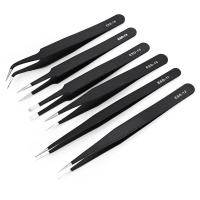
- Fine-tipped tweezers for handling small connectors and screws.
- Liquid adhesive (B-7000 is the industry standard) for sticking down screens and covers.
- Isopropyl alcohol for cleaning surfaces of old adhesive residue.
Repairing your Xiaomi Redmi 12C is more than just fixing an object: it's about learning, saving money, and taking control of your technology. Every screw you remove and replace is a small victory. At iLevante.com, we're here to accompany you every step of the way, offering you not just the parts, but the confidence to do it yourself. Your Redmi 12C has plenty of life left in it yet! 💪

