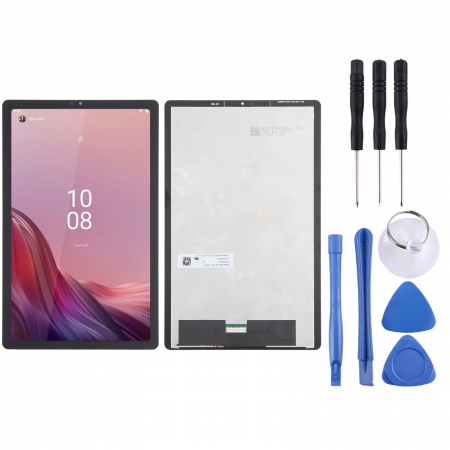
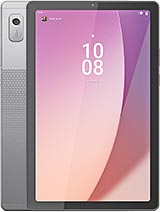
- The touch glass
- The image controller IC
- The connection flex cable to the tablet.
Additionally, to protect your new screen, we include a free screen protector.To make the repair easier for you, we add a free tool kit that will allow you to change the screen yourself if you wish. This kit includes screwdrivers, picks, levers, and a suction cup, everything you need to perform the installation without any problems.
How to know if you need to change the screen of your Lenovo Tab M9?
You may need a new screen if you notice any of the following problems:- The touch does not respond or does so erratically.
- Color spots appear, especially black or blue, that were not there before.
- There are signs of water damage, such as spots shaped like circles or drops.
- You see light leaks in certain areas of the screen.
- The colors are not displayed correctly, especially at the edges.
If you experience any of these issues, it is likely that you need to replace the screen of your Lenovo Tab M9.
Advantages of a Premium Quality Screen
Opting for a Premium quality screen for your Lenovo Tab M9 is an excellent choice, as it ensures you get a product that will provide a user experience similar to what you had with the original screen. Additionally, a good quality screen can be more resistant to impacts and daily wear and tear.
What about technical service?
While it is possible to change the screen of your Lenovo Tab M9 on your own, if you do not feel confident, you can always take it to a technical service. Many technical services will allow you to bring your own replacement, which can help you save on repair costs.
How to change the screen of your Lenovo Tab M9
If you decide to change the screen yourself, here is a simple guide:
1. Turn off your Lenovo Tab M9.
2. Use an antistatic wristband to discharge any static electricity you may have.
3. Gently apply heat to the edges of the screen with a heat gun or hair dryer to soften the adhesive.
4. With the provided tools, carefully peel off the old screen, starting from the edges and moving towards the center.
5. Disconnect the flex cable and remove the old screen.
6. Clean any adhesive residue and make sure the surface is ready for the new screen.
7. Place the new screen, connect the flex cables, and ensure everything fits correctly.
8. Turn on your Lenovo Tab M9 to test the new screen before sealing it permanently in place.
9. Once confirmed that everything works, seal the screen and let the adhesive set for a few hours before using the tablet normally.
With the Premium quality screen for Lenovo Tab M9 from iLevante.com, you don't have to settle for using a tablet with a broken screen. With our replacement screen, the right tools, and a little patience, you can make your device look and function as new. Don't wait any longer and take the step to repair your Lenovo Tab M9 today!
